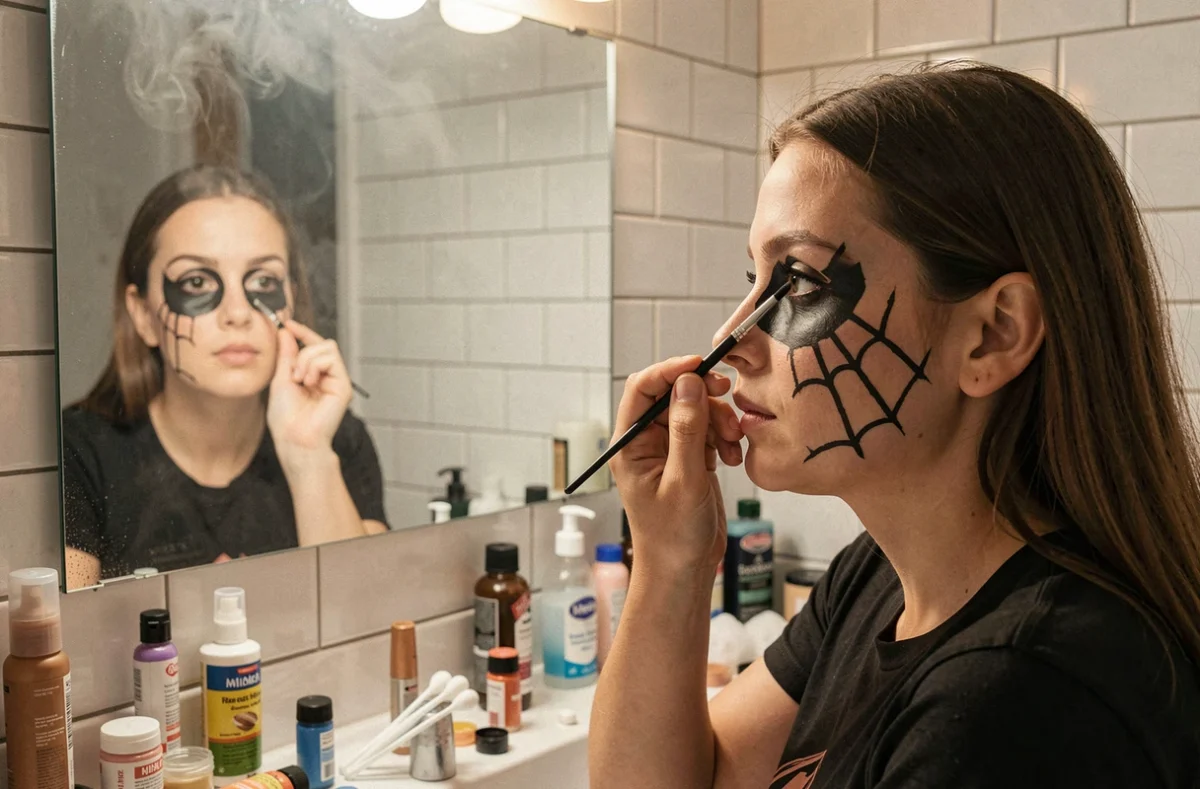
A convincing spider makeup relies less on materials than on mastering a few technical gestures and choosing products suitable for skin use. Here we detail the points that classic tutorials skim over: product composition, drawing the legs, managing sensitive areas of the face.
Regulations and skin safety for Halloween makeup
The distinction between cosmetic products and those falling under toy regulations conditions everything else. A makeup kit sold as a toy bears the CE marking, but this does not guarantee appropriate use on facial skin. The checklist published by AnimyJob reminds us to check the recommended age, warnings, application area, and the manufacturer’s identity. The CE marking alone does not replace reading the instructions or examining the composition.
Ordinary markers and craft paints should never be used on the skin. Even a product labeled “face paint” may contain allergenic fragrances. The European regulation on fragrance allergens will evolve starting in 2026 with the individual identification of a broader range of substances, which necessitates reviewing the INCI lists even for products purchased in previous years.
We recommend finding beauty tips on Touche de Beauté to delve deeper into choosing formulations compatible with festive use without skin risks.
A preliminary test on a small area (inside the wrist, behind the ear) remains the basic precaution, without guaranteeing an absolute absence of reaction. On irritated or eczema-prone skin, we advise against any application, even with a certified product.
Water-based products for easy spider makeup

Water-based products are the most relevant technical choice for spider makeup without professional materials. Quick activation with a wet brush, drying in a few minutes, and removal with warm water and mild soap. No need for greasy makeup removers or abrasive wipes.
Black and white are sufficient for a complete spider look. Black structures the spider’s body, legs, and web. White serves as highlights on the joints of the legs and as a base to make the pattern stand out on matte skin. An optional red can simulate a ventral hourglass (like a black widow) or spider eyes.
- Water-based makeup palette, minimum black and white, activated with a wet brush
- Fine round brush (liner type, diameter comparable to a school brush) for the legs and web
- Wet sponge to apply a flat color on the spider’s body
- Cotton swab to correct smudges before drying
A classic makeup brush or even a watercolor brush works perfectly. The key is not the tool, but its cleanliness and ability to form a fine tip. A frayed brush will produce irregular legs, which can actually add realism if embraced.
Technique for drawing the legs and spider web
Drawing the legs is the part that distinguishes credible makeup from a scribble. Each spider leg consists of three articulated segments, not just a simple curved line. This is the detail that most mainstream tutorials overlook.
Simplified anatomy for drawing
Start from the oval body of the spider. Draw four legs on each side. Each leg breaks down into three segments: a short first segment coming from the body (coxa/femur), a longer middle segment (tibia), and a fine terminal segment oriented downwards (tarsus). The joint between each segment forms an angle, not a continuous curve.
In practice, the gesture is simple: short line upwards and outwards, change of angle, longer line, new change of angle, fine descending line. Work on the legs in symmetrical pairs rather than one after the other to maintain visual balance.
Placement of the web on the face
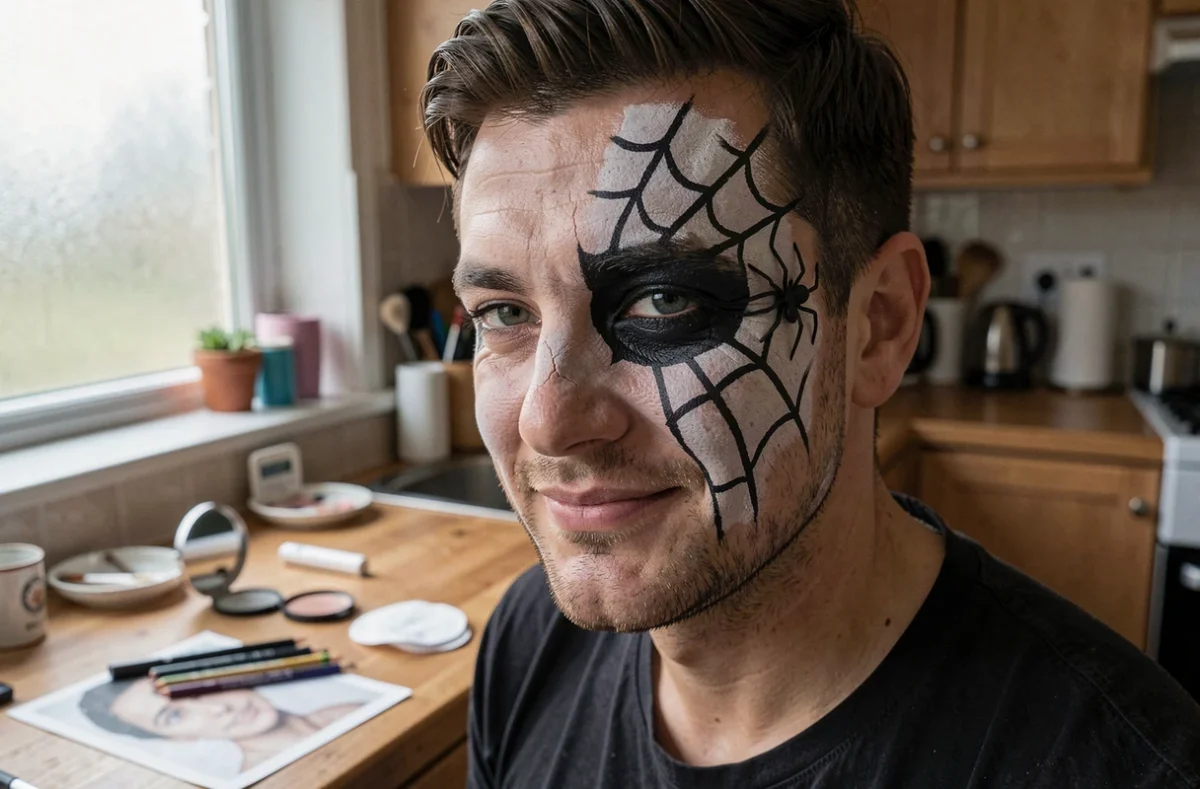
The web is ideally placed around the eye, on the temple, or extending from the cheekbone. The principle is based on radial lines emanating from a central point, connected by concentric arcs.
For a clean result without professional materials, we recommend first drawing the radial lines (between three and five are sufficient), then connecting the arcs in a single continuous gesture by level. Lifting the brush between each arc creates visible interruptions. An arc drawn in one fluid motion gives a cleaner result than a series of small connected lines.
Common mistakes and corrections on made-up skin
Loading the brush too much is the most common mistake. An excess of water dilutes the pigment and produces a smudgy line that spreads into fine lines. The right load: dip the brush, lightly squeeze it on the back of the hand, check the opacity of the line on the wrist before moving to the face.
Another trap: working on a non-dry base. If you apply a black flat color for the spider’s body, wait until it is dry to the touch before drawing the legs on top. Layering wet black over wet black creates a shapeless mass.
- Smudge before drying: correct immediately with a wet cotton swab, without rubbing
- Line too thick: gently scrape with the nail once dry, then go over with a fine line
- Asymmetry of the legs: look at the face in a mirror from a distance (arm’s length) rather than up close, to assess overall balance
- Makeup cracking: the product was applied in too thick a layer or the skin was too dry to start with. A light moisturizing base before application solves the issue
Makeup removal is done with warm water and mild soap for water-based products. No aggressive rubbing, especially around the eyes. If pigment residues persist, a food-grade vegetable oil (olive, sunflower) applied with cotton is enough to dissolve the leftovers.
A successful spider makeup with basic materials relies primarily on the cleanliness of the brush, respecting drying times between layers, and the anatomical breakdown of the legs into articulated segments. The rest is a matter of practice, not budget.